Search Knowledge Base by Keyword
How to Set Up an Email Account on Windows Mail
Windows Mail is a popular email client provided by Microsoft with every base installation of Windows 10. Let’s look at how to set up an email account on Windows Mail.
First, open Windows Mail.
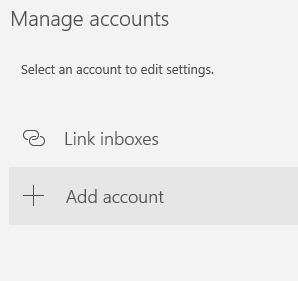
Now, go to Accounts > Add Account.
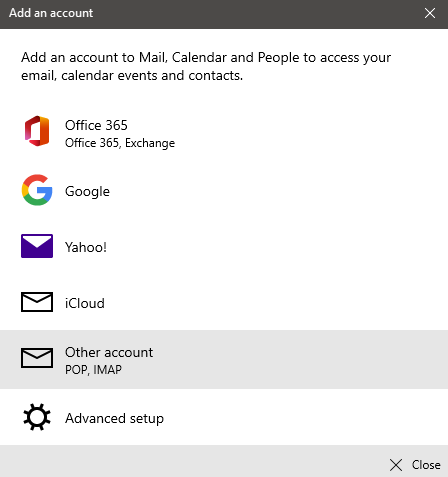
Next select the type of account you want to add. Here you should choose Other Account (POP, IMAP).
Now you’ll be prompted to enter the email address and password for your email account. After this, Windows Mail will automatically retrieve the server settings and set up your account.
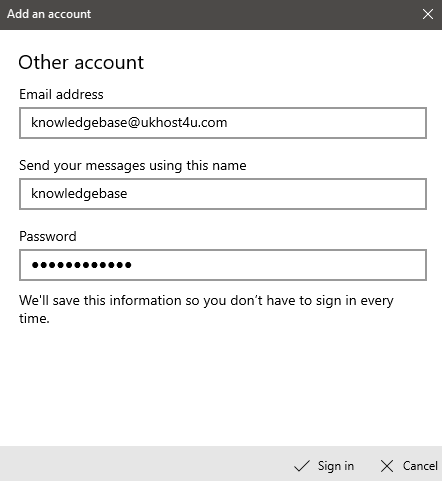
Finally click Sign In to finish adding the account to Windows Mail!
Manual Settings
Occasionally, you’ll need to enter the server settings manually while setting the account up on Windows Mail.
To do this, go to the Add Account screen, then select Advanced Settings.
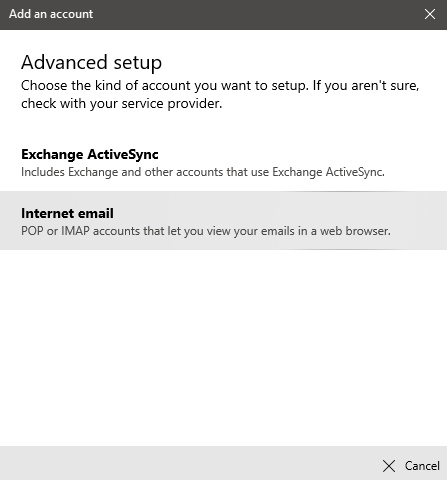
In the Advanced Settings screen, select Internet Email.
Now you’ll be prompted to enter the login details and server information.
Note: If you’re unsure of this information, you can find it in cPanel by going to Email Accounts and clicking Connect Devices beside the email address.
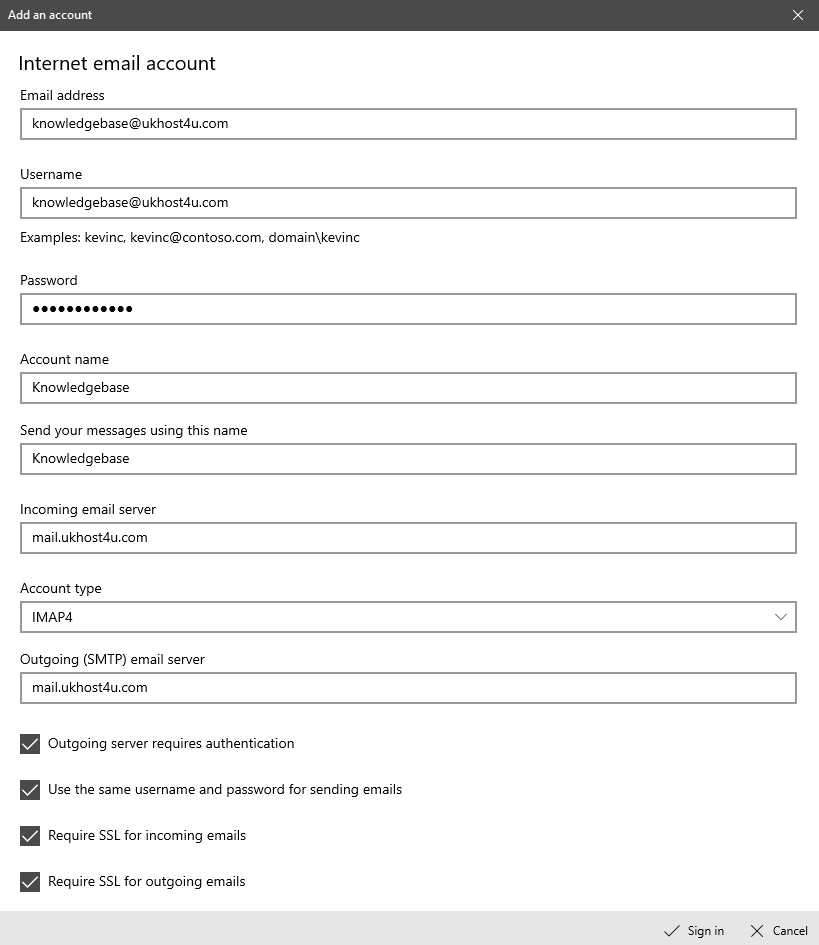
Finally click Sign In to add the account to Windows Mail!
