Search Knowledge Base by Keyword
UKHost4u – Tutorial Guide
When you log into the UKHost4u platform for the first time, it will automatically start introducing you to the dashboard. The tutorial guide comprises information on primary operationality and features available for you and assists you in deploying your first application. The whole tutorial needs just a few minutes to finish and is a great way to start working with the dashboard.
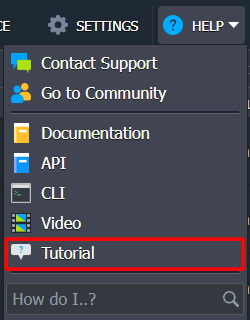
You can also start this tutorial manually by clicking on the Help option and then clicking on the Tutorial option, at any time;
Here’s what you will see in the tutorial step-by-step;
1. The tutorial guide begins with an opening presentation. The first frame you see (The Benefits of UKHost4u Cloud PaaS), displays a list of central features of the platform.
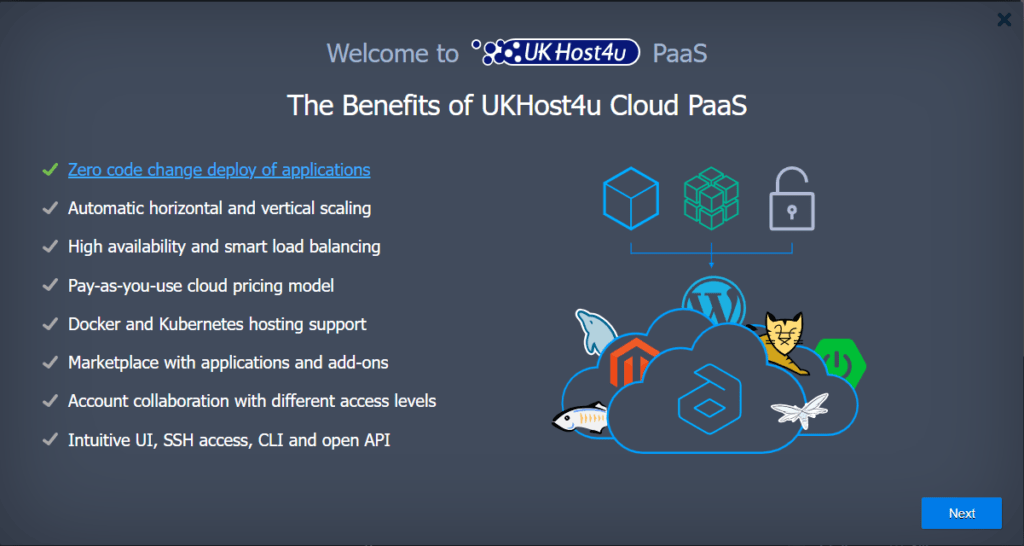
To see the detailed information of any point in the list, move your cursor over it. Click on it to launch the allocated documentation page for more information.
Also, when you move over any specific point, its related illustration will appear. By clicking on the illustration, you will be redirected to its documentation.
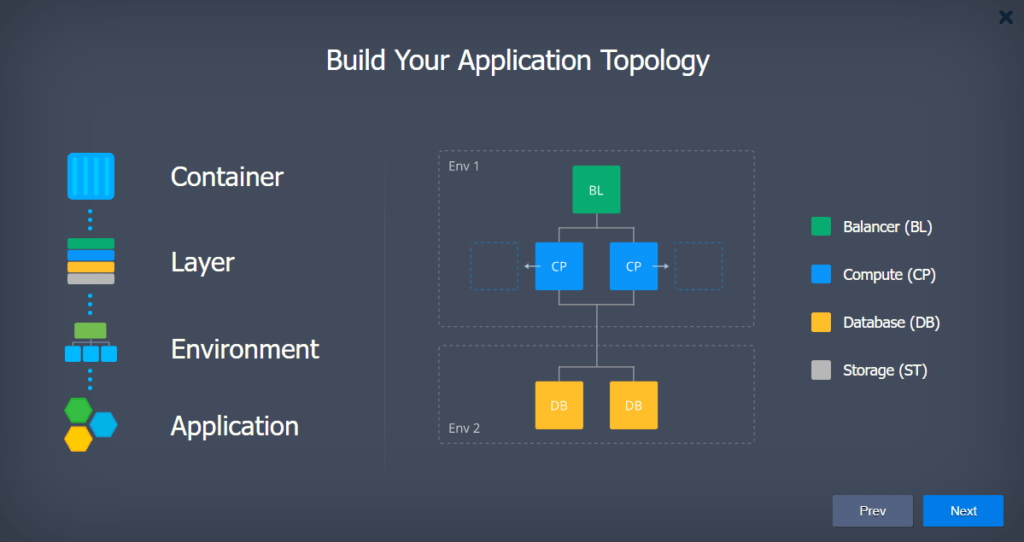
2. The following frame (Build Your Application Topology) displays the way of building your application topology using the intuitive dashboard and its elements.
3. Next frame (Tune Your Resource Consumption) elucidates how to supply required resources for the instances and how tentative price is evaluated.
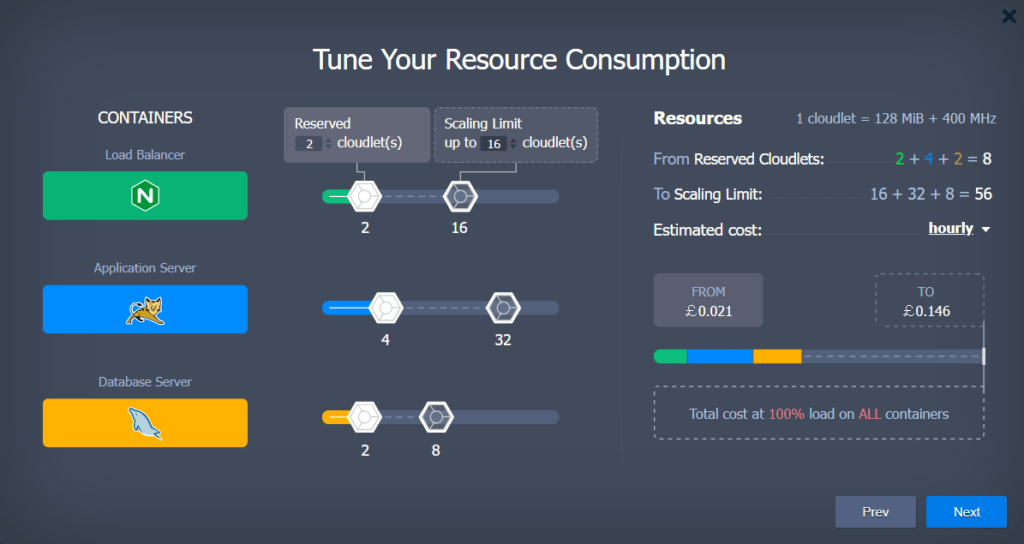
UKHost4u cloud PaaS provides the estimated cost of resources automatically for the recently configured environment topology depending on hours, months, or daily basis.
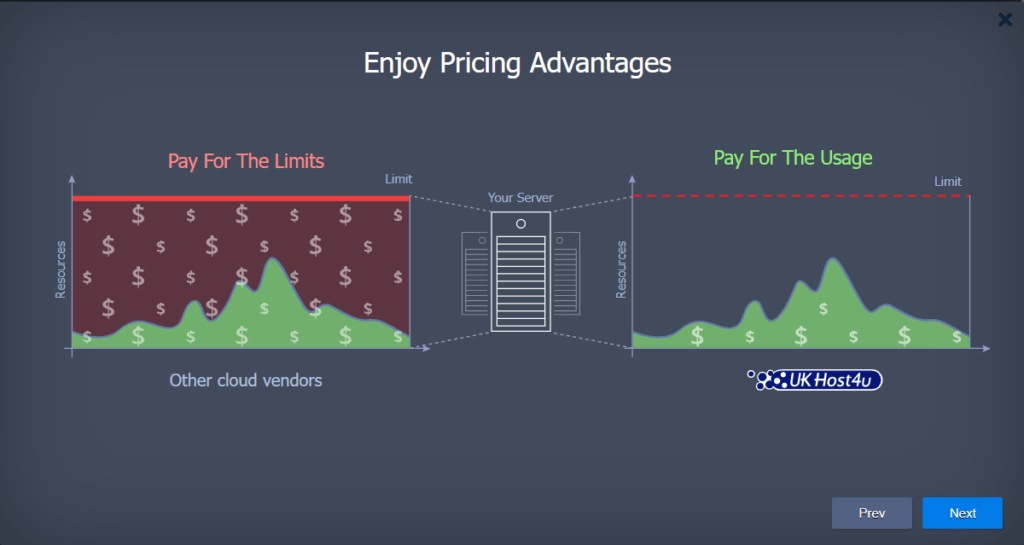
4. The last slide of the presentation (Enjoy Pricing Advantages) throws light on the UKHost4u’s pay-as-you-go pricing model in comparison with other cloud hoster’s pricing policy.
5. After that, the presentation is closed and the Environment Topology wizard automatically pops up.
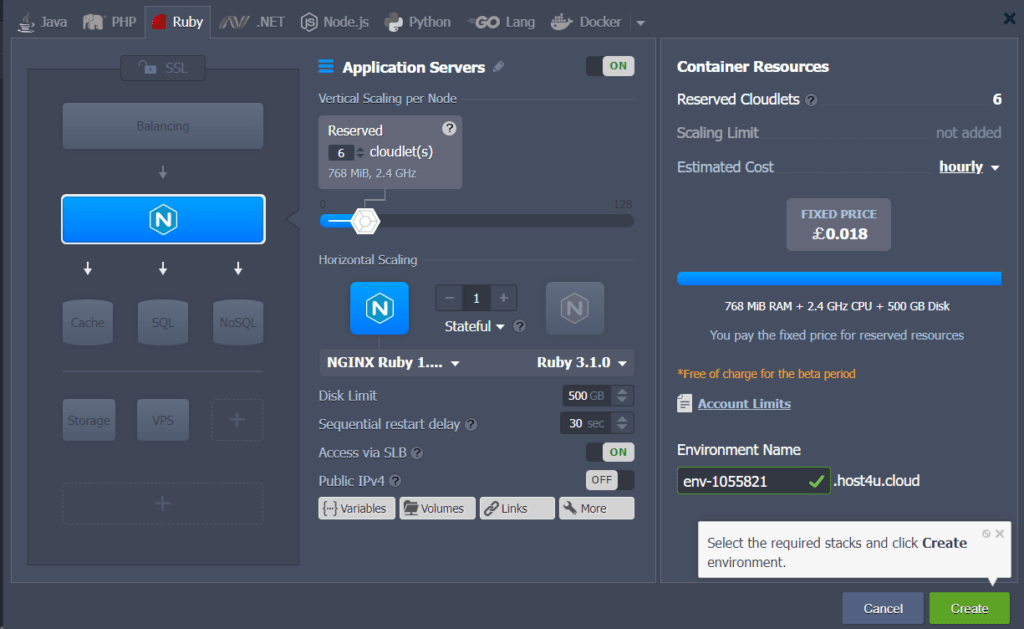
You can also set up a new environment if required, with the help of all the components in the Topology wizard. For this tutorial, however, you are advised to follow the instructions and click on the create button right away.
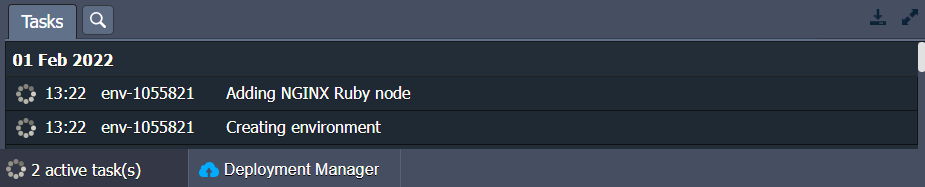
6. Wait patiently till your environment creation is complete. Time being, you can check the process updates in the Tasks panel.
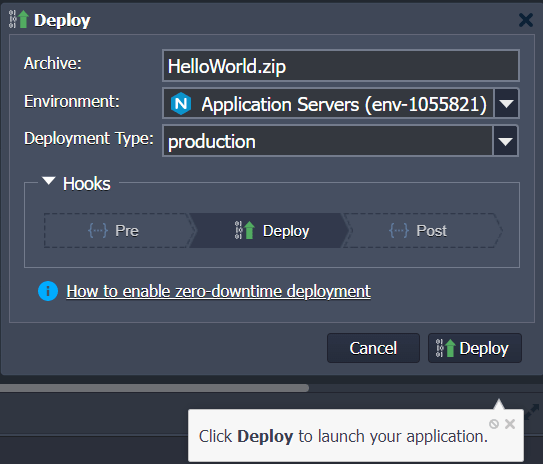
7. After successful completion, you will be automatically redirected to the deployment manager segment. Here you will see a highlighted button to deploy the default Hello World application. Press it to move further.

8. Inside the opened Deploy frame, choose your newly created environment in the suitable drop-down menu and tap on the Deploy button.
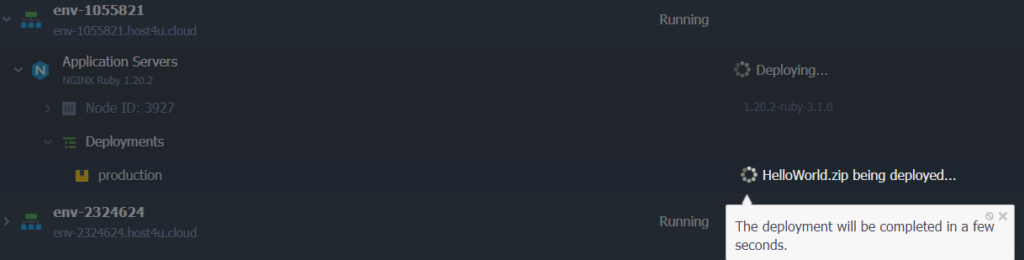
9. Wait for a moment and let the application be deployed.
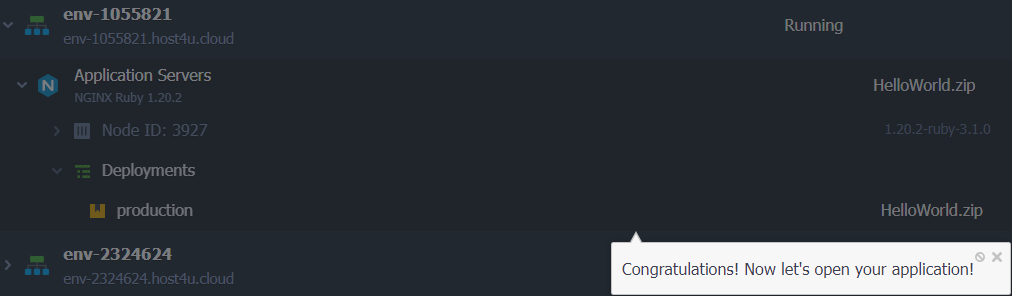
10. Voila! Your application is ready to roll. Click on the highlighted (Open in browser) icon to check it in a new window.
The whole process is quite informative and just needs a very small amount of time.
