How to move website hosting from one company to another?

Assistance for transferring your website.
Transferring your website from one hosting provider to another shouldn’t be a complex undertaking. Nevertheless, certain providers might not facilitate the process willingly, as they naturally prefer to retain your business.
There could be multiple motives prompting you to switch away from your current hosting provider:
- Their pricing proves to be overly steep.
- The allocated resources fall short of requirements.
- The support services lack responsiveness.
- The control panel lacks user-friendliness and intuitiveness.
- Alternatively, their security measures are inadequate.
Now that you’ve made the choice to part ways with your current hosting provider, it’s likely that you wish to preserve your website in its current state.
In this article, we will endeavour to elucidate the simplest methods for transferring your website from one provider to another.
IMPORTANT: Certain providers may not readily facilitate your departure, and the solutions we suggest might not be viable with your existing provider.
1. Export Website Files from the Current Hosting
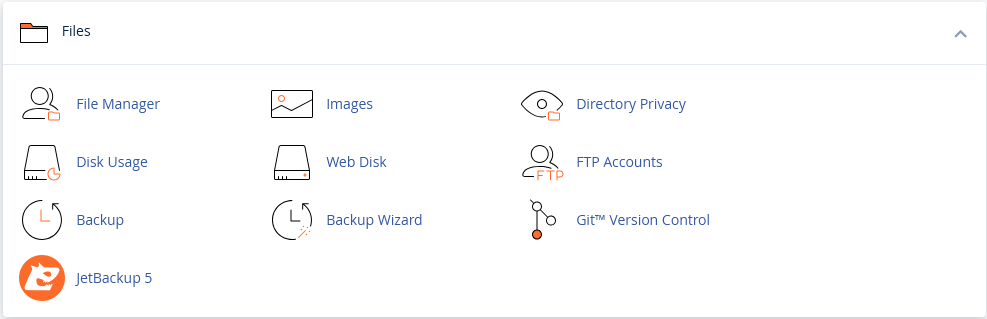
Step 1: Log in to your cPanel account and navigate to File Manager under the Files section.
Have a look at our dedicated knowledge base article to download a full or partial backup.
2. Export the Database
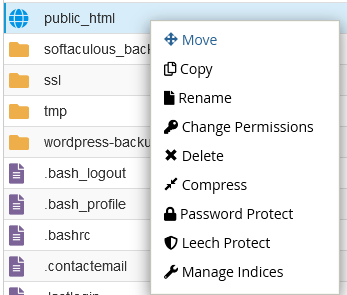
Right-click the folder containing your website files and choose “Compress” option:
Download the zip file
3. Update your Domain Nameservers
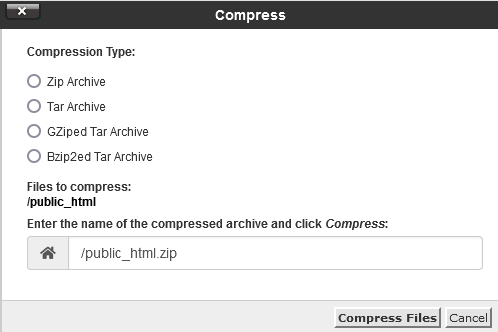
Type in the destination path and file name if you wish or use the default:
For the database
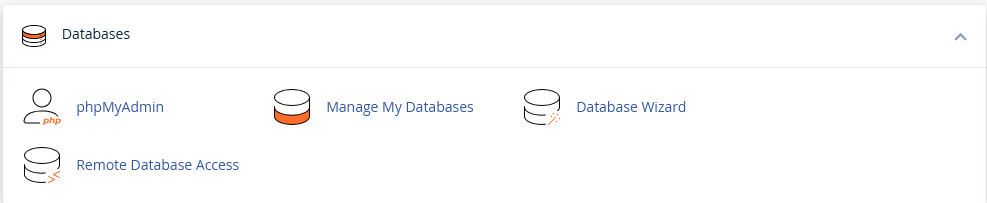
On your CPanel access PHPMyAdmin under Databases Section:
Click on the database you would like to transfer and press “Export”:
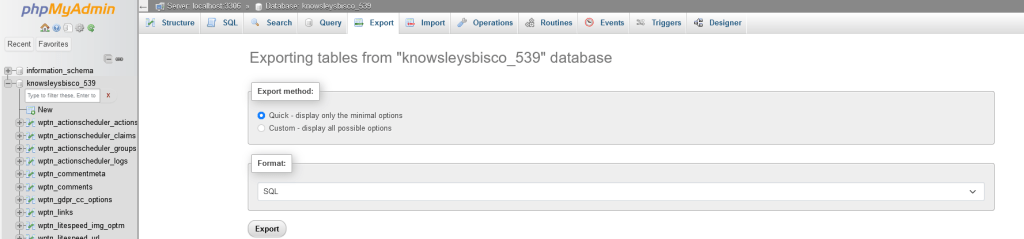
This should start the download of the SQL file.
On the new hosting
On the new hosting account’s CPanel, use the “File Manager” “Upload” function to upload the zip file:

Extract the file to the folder of your choosing.
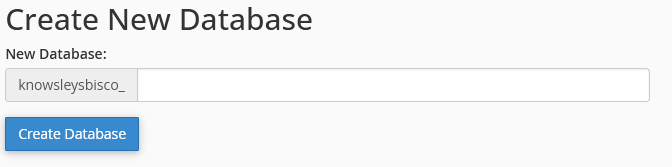
For the database, you will need to create a database slot. This is done via CPanel > Manage My Databases
- Create a database
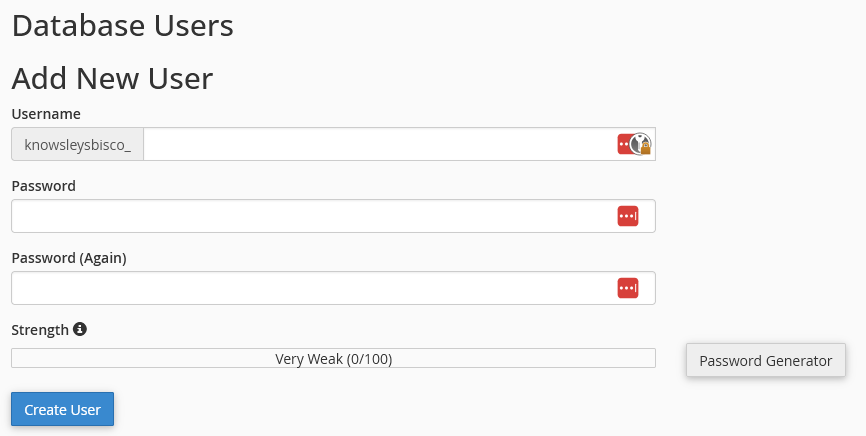
Create a username for the database
Associate the user with the database:
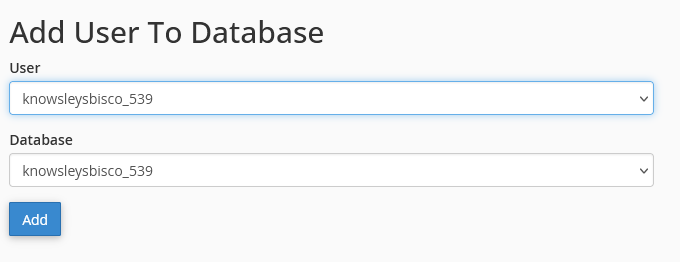
This will ask you to grant permissions, by default it’s usually all of them.
- Once the database slot has been created, head to CPanel > PHPMyAdmin, select the slot you’ve created and use the “Import” option to import the SQL file.
With this, all the data is imported and all that’s left is to update the wp-config.php file in your website directory with the new database name, username and password.
Migrating your WordPress website to a new hosting provider may seem daunting, but by following these clear steps, the process can be seamless and stress-free. Whether you’re moving due to cost, performance, or support issues, maintaining the integrity of your website is crucial. By properly transferring your website files and database, and updating your configuration settings, you’ll have your site up and running on your new host in no time. Remember, if you run into any difficulties, professional support is always available to guide you through the process.
Contact Us
Need assistance with website migration, hosting solutions, or any technical issues? The UKHost4u support team is here to help you every step of the way. Our experts are available 24/7 to ensure your hosting experience is smooth and hassle-free.
Get in touch with us today via:
- Email: cs@ukhost4u.com
- Phone: +44 131 5412328
- Live Chat: Instantly connect with us on our website at www.ukhost4u.com
We’re dedicated to providing exceptional customer support and ensuring your online presence is secure, efficient, and always available. Reach out now, and let us handle your hosting needs!
About Milo Travers