Search Knowledge Base by Keyword
How to add a DNS record in cPanel
Managing DNS (Domain Name System) can be perplexing. When working through an account, experienced webmasters understand how frustrating it can be to add records, and then wait for them to propagate, only to find out something did not go down that well and the site is unreachable.
What exactly is a DNS record?
DNS records are used to specify where your website, or areas of your website, should load from on the internet. DNS records show how domains correspond to IPs or other domains. There are a number of scenarios where you may need to add a DNS record – for example if you need to redirect your mail to a different provider, set a subdomain to load from a different location, or to set up Google verification.
There are a number of types of DNS records. Other types include:
- CNAME records, which map one domain name to another. You might use a CNAME to point blog.UKHost4u.com at UkHost4u.com instead of having two “A records” for the same IP. Obviously to say that you have to replace UKHost4u.com with your own domain.
- MX records are Mail Exchanger records. They indicate where incoming mail should be forwarded.
- NS records show which DNS server is mainly authoritative for a domain: ns1.mynameserver.com, for example.
How to find DNS record in cPanel
As obvious, the first step is to login to cPanel.
Once logged in, go to the Zone Editor.
This should look somewhat like the screengrab below
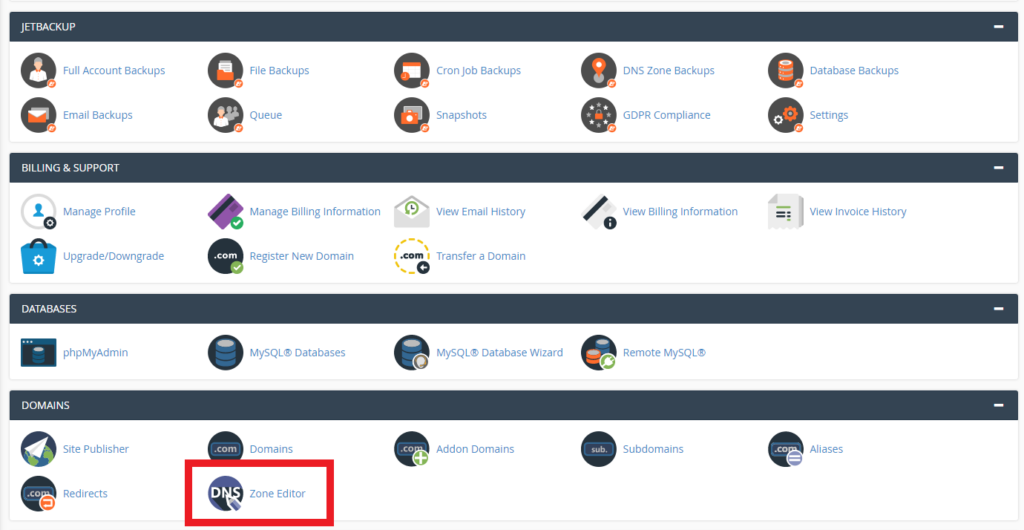
You can now click Manage to add a DNS record, or add from the most common records (A, CNAME, and MX records).
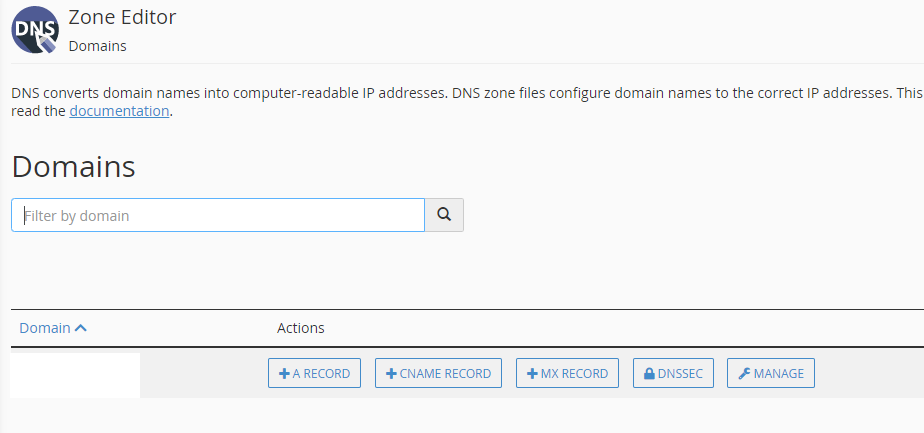
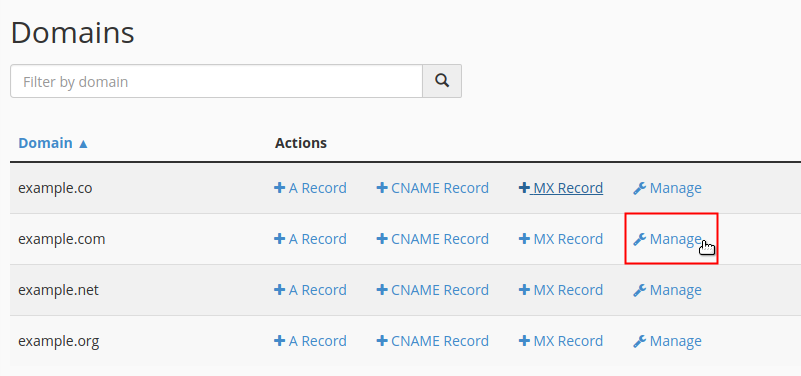
There is a chance that your domains are already configured and you may see the following kind of screen. In this case, you can select the manage option as below
You can then click on Add record and add the record of your choice. In the following demonstration, we show how to add a CNAME record
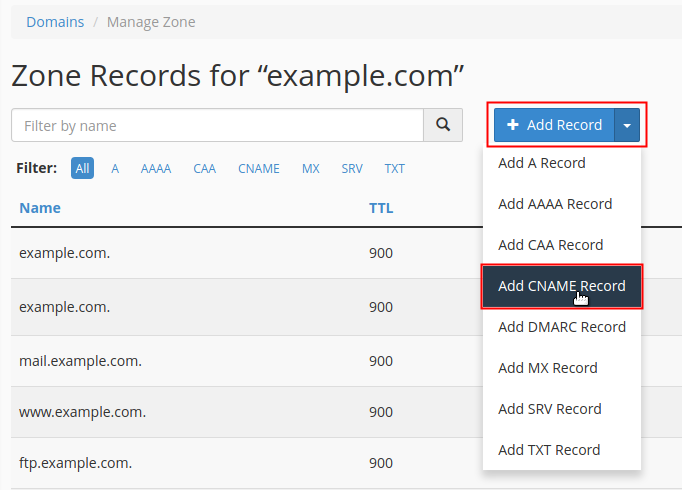
Here is then when you add the Name, TTL, Type and Record fields. Do note that this procedure is specifically to create CNAME record.
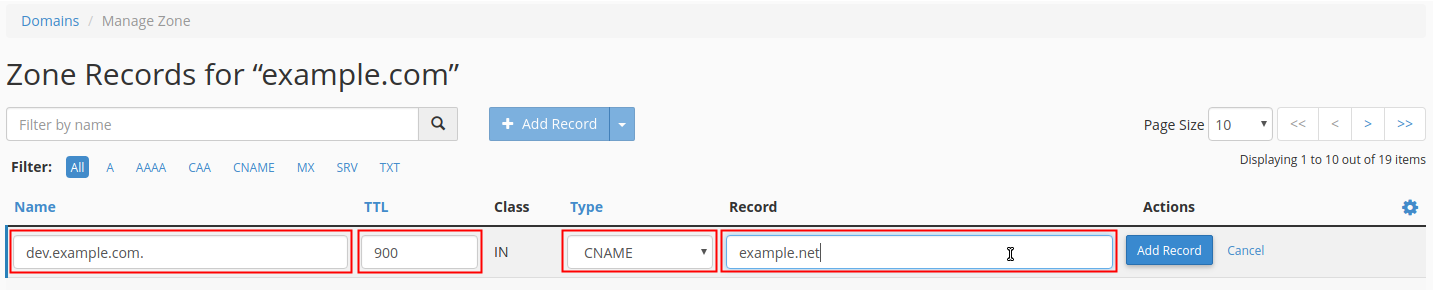
Now click Add Record to begin adding a record. You’ll be prompted to choose the type of record you wish to add, as well as the values for the DNS record.
