Search Knowledge Base by Keyword
How To Edit A DNS Zone In WHM
DNS Zone is the specific portion in DNS (Domain Name Space). It is the admin space as it allows the control of the DNS components.
DNS Zones contain DNS records for domain names, which are pointers specifying the location on the internet of different areas of your website or hosting account. DNS Zones for hosting accounts can be edited in WHM.
Below are the steps to edit a DNS Zone in WHM
- Login to the WHM control panel.
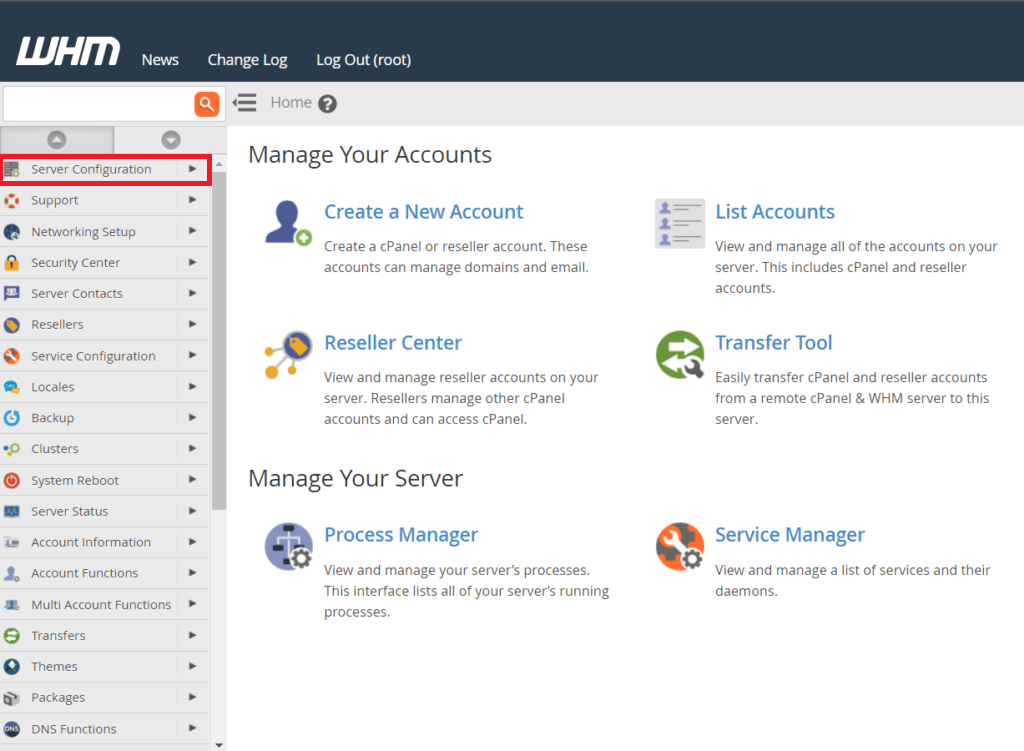
2. Navigate to Edit DNS Zone.
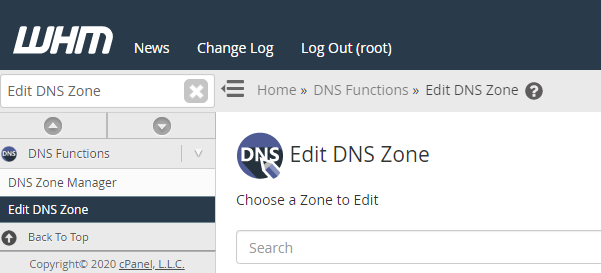
3. Search for the domain you want to edit the DNS zone for, and then click Edit to begin editing the DNS zone.
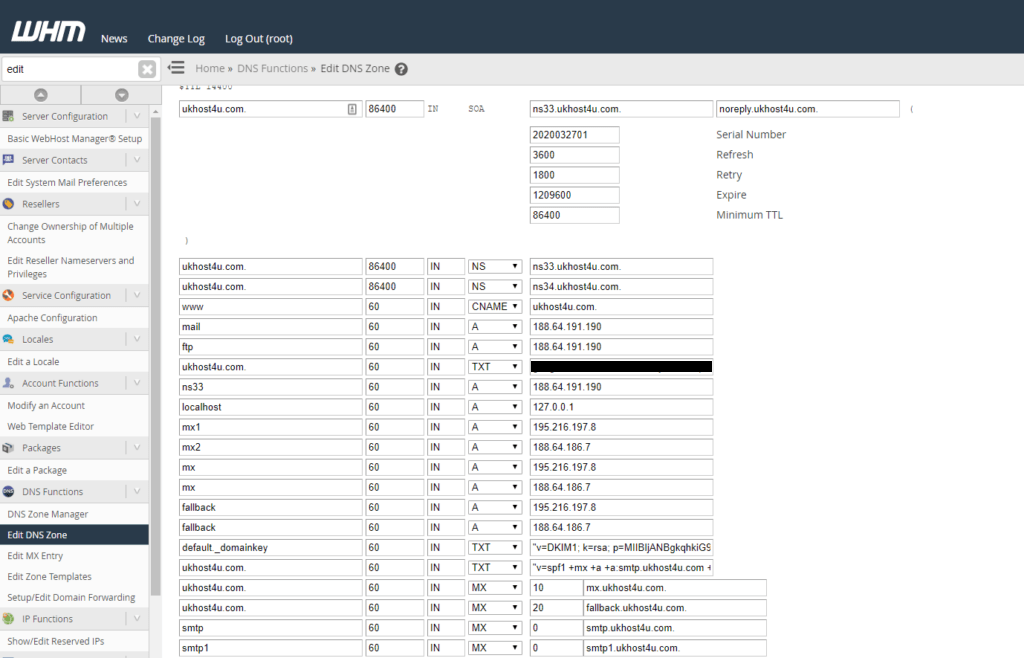
Editing a DNS record
To edit an existing DNS record, just find the record you want to edit, and then enter the new values for the record.
You can use the drop-down menu to select the type of record you want to change it to.
When you’re finished, just scroll down and click Save to finish saving your changes.
Adding a DNS record
To add a new DNS record, scroll down to the Add New Entries Below this Line section.
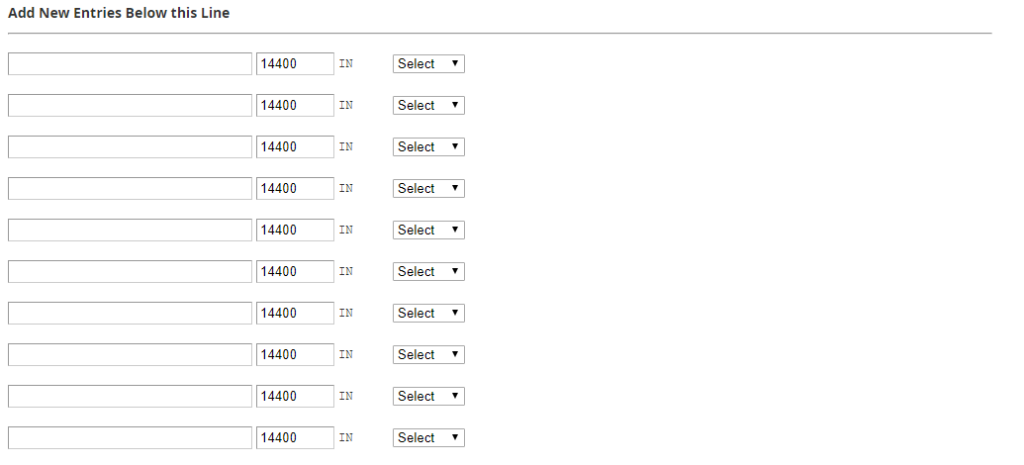
Now enter the values for the DNS record, select the type for the DNS record, then scroll down and click Save.
