Search Knowledge Base by Keyword
How To Unblock Your IP Address In The Client Area
Occasionally, you may find yourself blocked by the firewall on a cPanel server associated with your hosting plan. If this occurs, you’ll see a message notifying you of the firewall block when you try to visit your website or access the server.
Fortunately, you can unblock your IP address directly from the Client Area. Follow these steps to unblock your IP address:
- Login to the Client Area: Use your credentials to access your hosting account.
- Navigate to Manage Firewall: Locate and select the “Manage Firewall” option to manage your firewall settings and unblock your IP address.

3. View and Manage IP Addresses: You will now see your IP address displayed. You also have the option to check any IP address against the firewall and remove any blocks that may be in place.
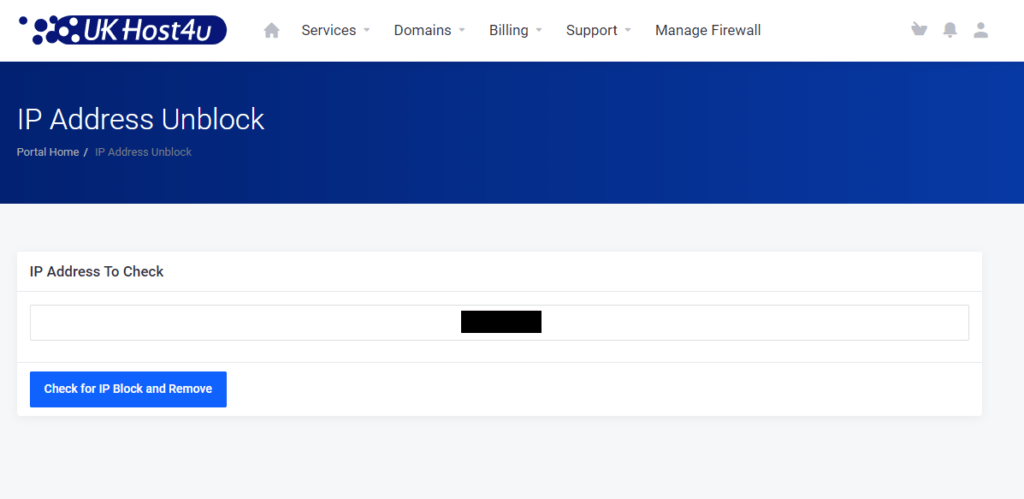
4. First check the IP address then click Check for IP Block and Remove.
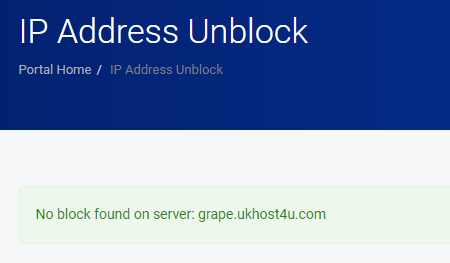
5. If there are no server blocks, the Client Area will provide you with a relevant message.
6. Check and Remove Blocks: If your IP address was blocked, the Client Area will display the reason for the block. You can then proceed to remove the IP block.
By following these steps, you can quickly and efficiently manage firewall blocks on your cPanel server.
If you encounter any issues or need further assistance, please don’t hesitate to contact our support team through our ticket system. We’re here to help!
