Search Knowledge Base by Keyword
UKHost4u Shared Storage Container
UKHost4u shared storage container is a unique kind of node, made for saving data. It gives a lot of suitable benefits as compared to other managed containers.
- For data mounting, NFS and Gluster Native (FUSE) client types:
1. NFS – direct file system protocol, made for hastening processing and great performance.
2. Gluster Native (FUSE) – dependable file system protocol with default cloning of the mounted data, formulated for data backup and redundancy. - NFSv4 support: Instead of NFSv3 support, NFSv4 support on other managed stacks, guarantees better performance, firm security, FUSE directories export support, etc.
- Auto-Clustering: This option by default configures a trustable storage cluster, confirming data safety. If one or more nodes face failure, the AutoFS client will automatically shift to the working instances on the following read or write function attempt.
- Expanded Disk Space: For Shared storage containers, UKHost4u provides expanded disk space as compared to other common-purposed nodes. The specific value is according to your cloud hoster’s settings and can differ according to the account type.
- Enhanced & Better Performance: All the essential software are pre-installed such as NFS and RPC for NFSv4, GlusterFS for auto-clustering and the default functions of the UKHost4u PaaS platform enhances and makes the performance better.

Here’s what you will learn in this article;
1. Create Storage Container
2. Auto-Clustering Storage Container
3. Managing Storage Container
Create Storage Container
Open the Topology wizard and enable the Storage section at the bottom-left to create a new Shared Storage Container. This section is available for all kinds of engines in the platform, including Docker containers.
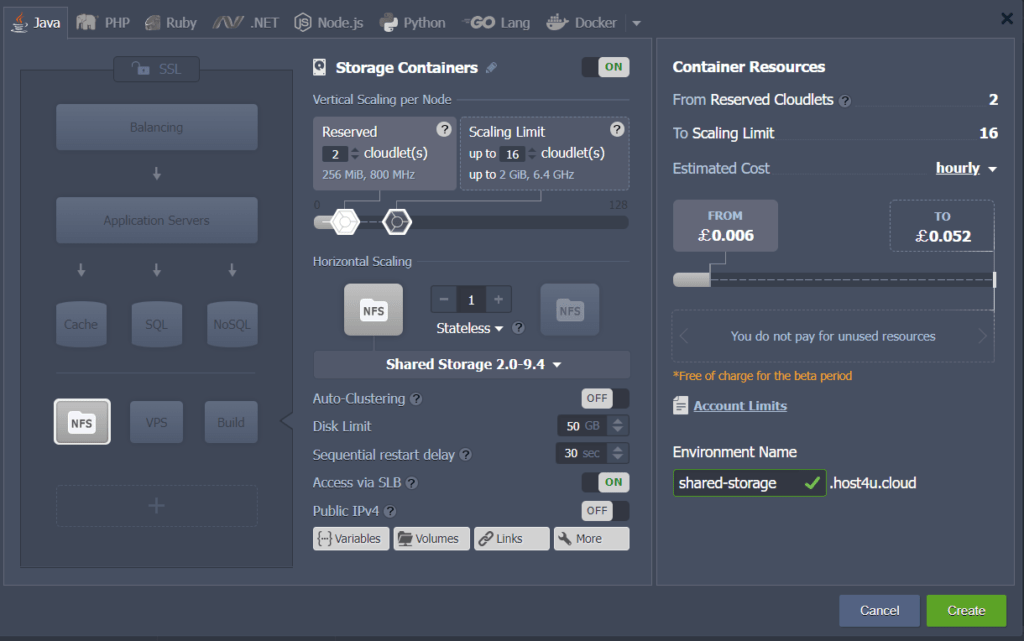
You can also provide extra configurations for your Shared Storage in the central section of the wizard. Use the Disk Limit option to adjust the accurate amount of given shared storage. If you enable the auto-clustering toggle the platform will automatically manage the reliable storage cluster. Public IP addresses such as IPv4 and IPv6 can be linked to the nodes if necessary. Click on the create button when you are done.
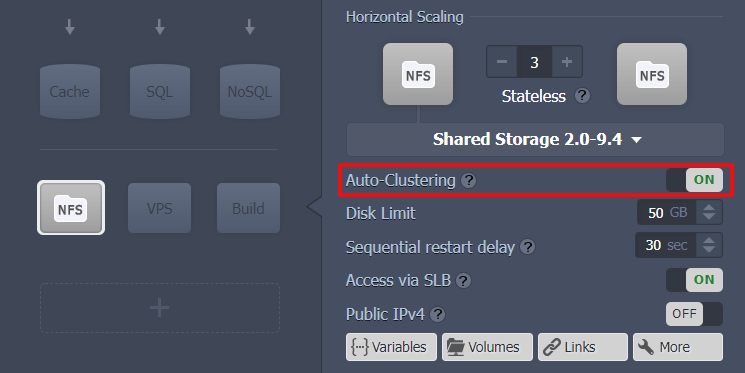
Auto-Clustering Storage Container
The platform will automatically configure a duplicated volume when the Auto-clustering toggle is enabled for the Shared Storage container in the Environment Topology Wizard. This kind of solution is executed according to the pre-installed GlusterFS RPM packages and is aimed at the environments that give importance to high dependability.
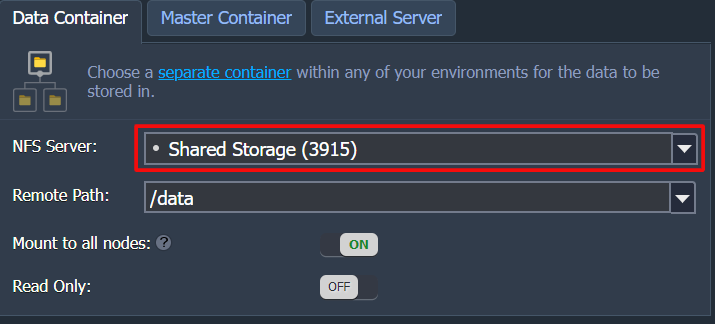
While creating the environment, the GlusterFS is arranged into the Data folder and is attainable over the NFSv4 protocol. As a result, it is handled as a single item when arranged from or to your storage cluster. The AutoFS client by default shifts to the operating instances on the next read or write operation attempt if one or several nodes fail.
Attributes Of Use Cases
The storage cluster depending on the Gluster software is appropriate for most solutions. Some instances benefit from the GlusterFS and NFS utility more than others.
Advised use cases:
- When the GlusterFS is mostly used to only read data, for example, Magento or WordPress websites, resource sharing for media content data.
- In case the application that works on write operations to GlusterFS storage can control exceptions and carry out retry attempts during a glitch.
Non-advised use case:
- Do not work with Shared Storage for SQL databases because Gluster does not encourage structured data. Though, GlusterFS for backing up and restoring a database will be okay.
- NFS is not right for applications having a load of IO operations. Data corruption can also be an outcome if a write operation leads to node failure.
Managing Storage Container
You can instantly proceed to the container configuration just after the environment creation. In this segment, we will show some basic actions that are useful for getting started;
1. The in-built configuration file manager can be utilised for the basic operations with your storage. You can take help from a third-party tool for more complicated management.

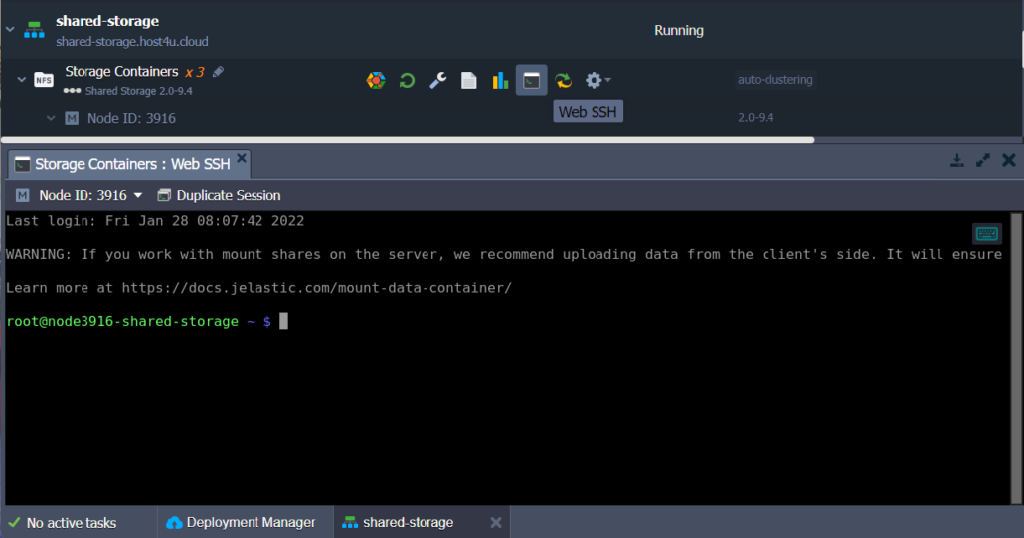
2. To get full control over your storage server establish SSH access.
3. Activate the Public IP option if you want to use and make your Shared Storage Container accessible as an external server.

Expand the suitable node in the UKHost4u dashboard to see the IP addresses linked to the Shared storage.
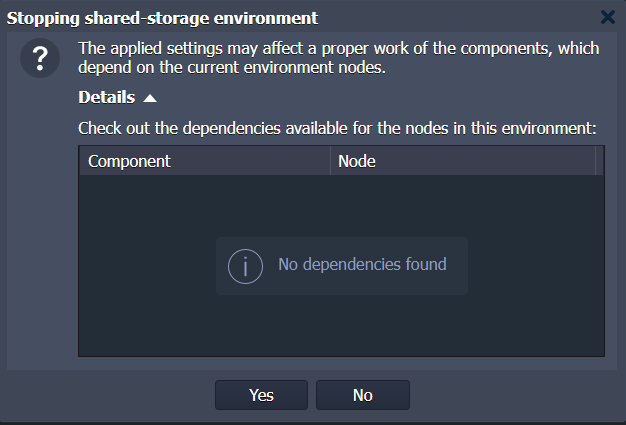
4. The platform verifies the configured mounts on the included nodes and gives Details on instances impacted by the action in the confirmation windows at the time of stopping or deleting an environment.
That was all about the important points on your Shared Storage Container. Now you can move further and enter the necessary content.
