- How to add a DNS record in cPanel
- How to Change an MX Record in cPanel
- How to change PHP settings in cPanel
- How to create a Domain Alias/Parked Domain in cPanel
- How to create a domain redirect in cPanel
- How to create a subdomain in cPanel
- How to create an Addon Domain in cPanel
- How to edit a DNS record in cPanel
- How to Remove a Domain in cPanel
- How To Check Email Disk Usage In CPanel
- How to create an email account in cPanel
- How to Create an Email Filter in cPanel
- How To Create an Email Forwarder in CPanel
- How to import/export emails in Horde webmail?
- How to Reset your Email Password in CPanel
- How to set up an autoresponder in cPanel
- How to whitelist a domain name in ASSP
- How to whitelist an email address with ASSP
- How Can I Check My Invoices?
- How to Access your Support Tickets in the Client Area
- How To Add A Contact/Sub-Account In The Client Area
- How to Add Funds to your Billing Account
- How To Change Your Account Details
- How To Change Your Password For The Client Area
- How to Login to the Client Area
- How to Set Up a Direct Debit on Your Billing Account
- How to Unblock your IP Address in the Client Area
- Why Is My Account Suspended?
- How To Access Webmail?
- How to Set Up an Email Account on Gmail for Android
- How to Set Up an Email Account on iPhone
- How to Set Up an Email Account on Mac Mail
- How to Set Up an Email Account on Outlook (Desktop)
- How to Set Up an Email Account on Outlook for Android
- How to Set Up an Email Account on Thunderbird
- How to Set Up an Email Account on Windows Mail
- What is IMAP?
- What is POP3?
- What is SMTP?
- Articles coming soon
- How to Block an IP Address in WHM
- How To Change Language – WHM
- How to change root password in WHM
- How to Change your Server Hostname in WHM
- How to check Service Status in WHM
- How to Create a Package in WHM
- How to create an account in WHM
- How to edit a DNS Zone in WHM
- How to Generate a Certificate Signing Request (CSR) in WHM
- How to Login to WHM
- How to Manage the Mail Queue in WHM
- How to Perform a Reboot in WHM
- How to Restore a Hosting Account Backup in WHM
- How to Set Backup Configuration in WHM
- How to Set Server Time Zone in WHM
- How to Whitelist an IP Address in WHM
- Show all articles ( 1 ) Collapse Articles
- Adding Captcha Protection On Your WordPress Site
- How to add a new user to Wordpress
- How to add and delete categories in Wordpress
- How to Change Header Image in Wordpress
- How to change my WordPress website title
- How to change password for Wordpress
- How to change theme in Wordpress
- How to create a page in Wordpress
- How to create a post in Wordpress
- How to Create a Post in Wordpress
- How to Customise Menus in Wordpress
- How to install a plugin in Wordpress
- How to Login to Wordpress
- How to Manage Widgets in Wordpress
- How to Reset a Lost Password in Wordpress
- How to set your Wordpress blog to private
- How to Upload Media in Wordpress
- Show all articles ( 2 ) Collapse Articles
- Articles coming soon
How to Set Up an Email Account on Gmail for Android
0 out Of 5 Stars
5 Stars | 0% | |
4 Stars | 0% | |
3 Stars | 0% | |
2 Stars | 0% | |
1 Stars | 0% |
Gmail is a popular desktop email client with an Android version available for download through the Play store. Let’s look at how to add your email account to Gmail for Android.
First, open up the Gmail app on your Android device.
Next, navigate to Settings > Add Account.
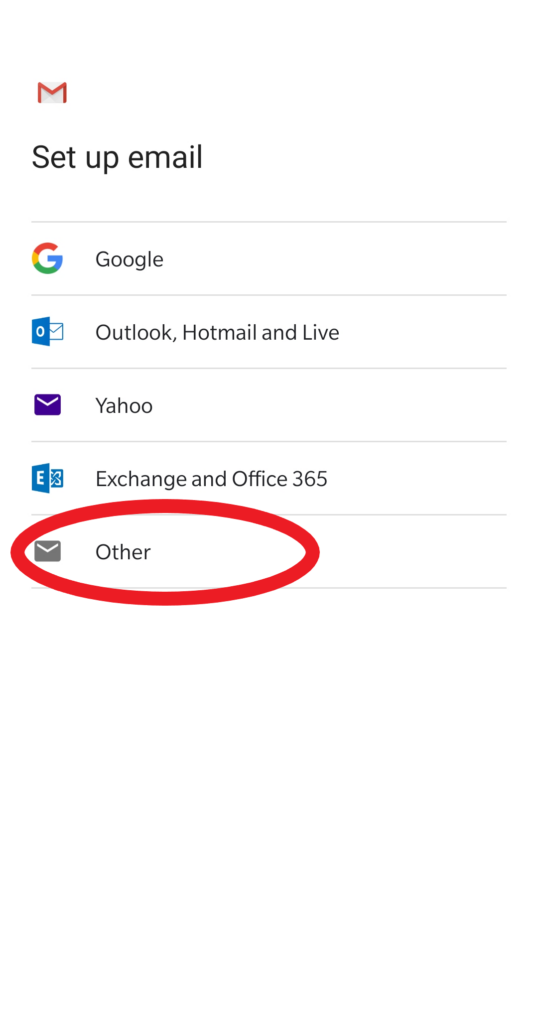
Now tap on the Other option.

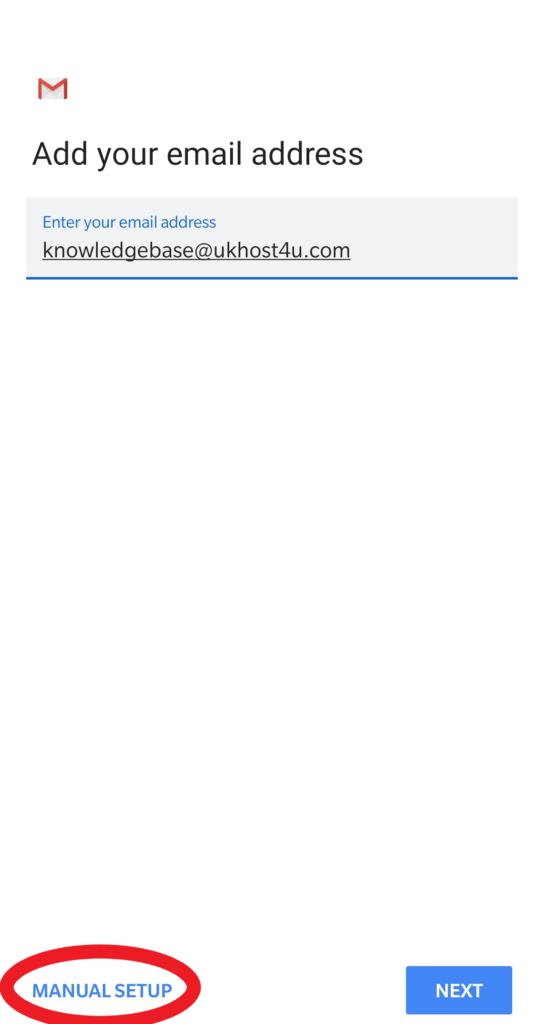
You’ll now be prompted to enter the email address that you’d like to add.
After entering your email address, tap Manual Config at the bottom of the screen.

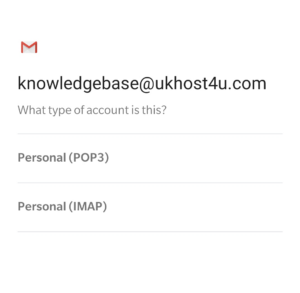
You’ll now be asked whether the account you’re adding is an IMAP account, or a POP3 account.

After making your choice, you’ll be prompted the enter the password for the email account you’re adding.

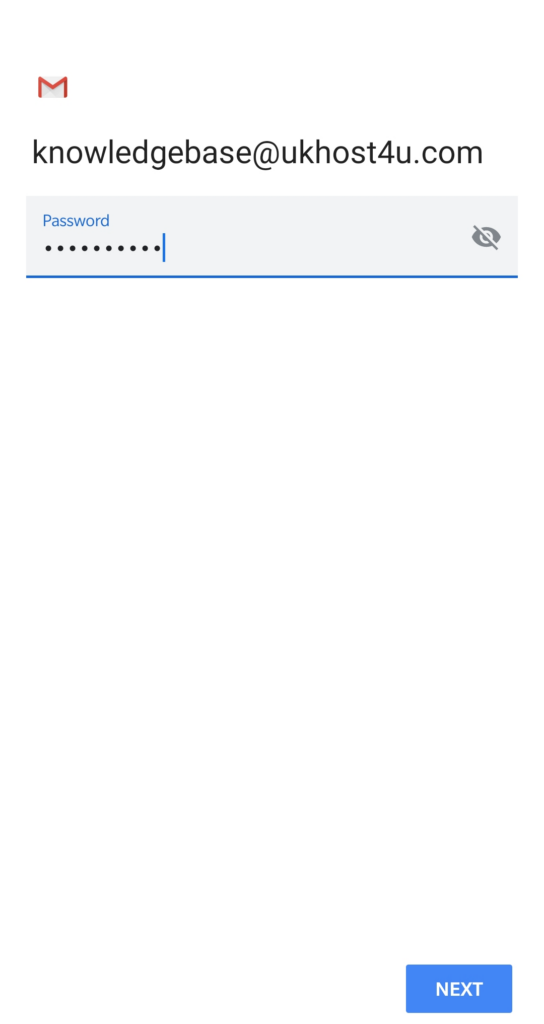
After entering your password, click NEXT to be taken to the next screen.
Now you’ll need to enter the relevant information for your email account’s incoming server settings.

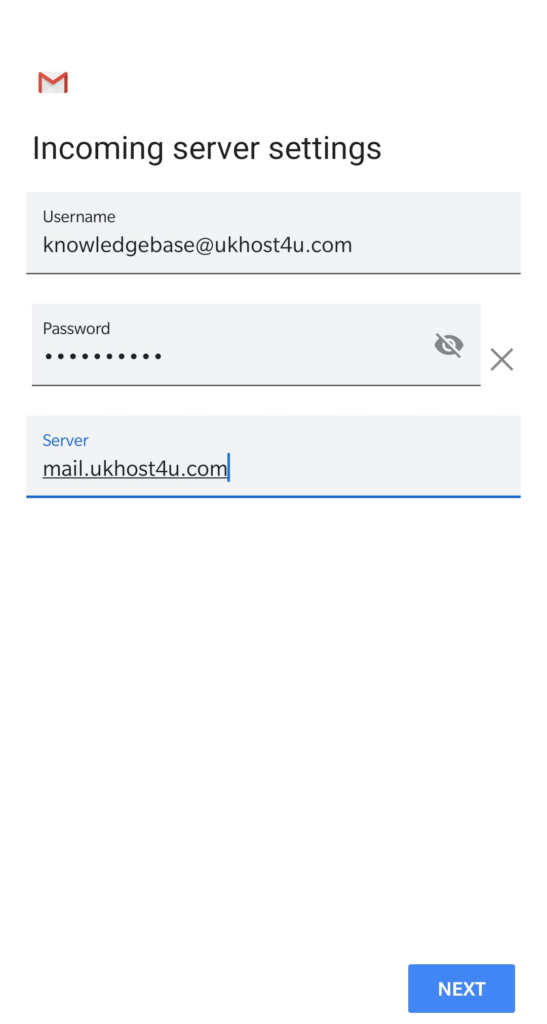
Once you’re finished entering the incoming server settings, tap NEXT.
Next you’ll be prompted to enter the outgoing server settings for the email account.

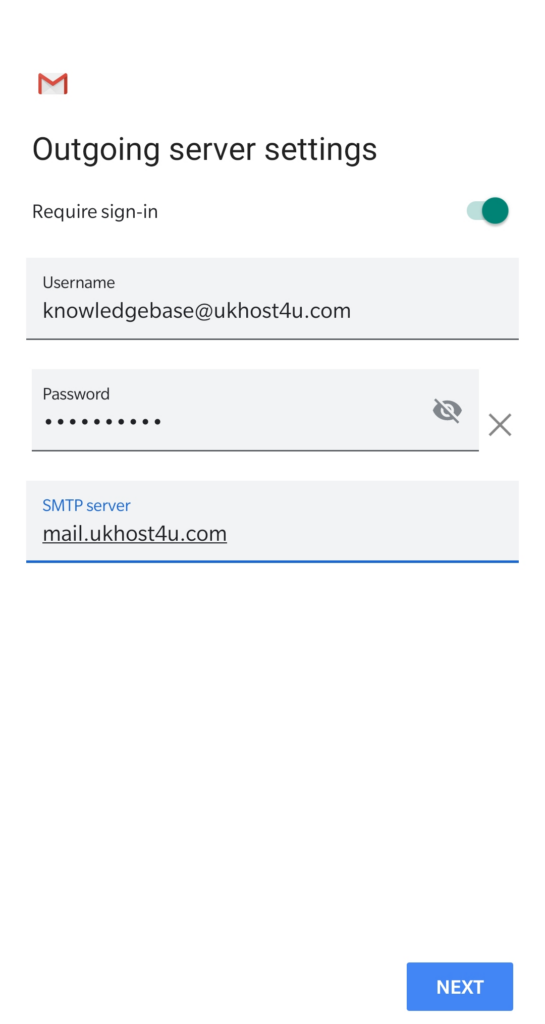
Tap next to go to the final screen.
Choose the relevant account options for Gmail to use with your email account.

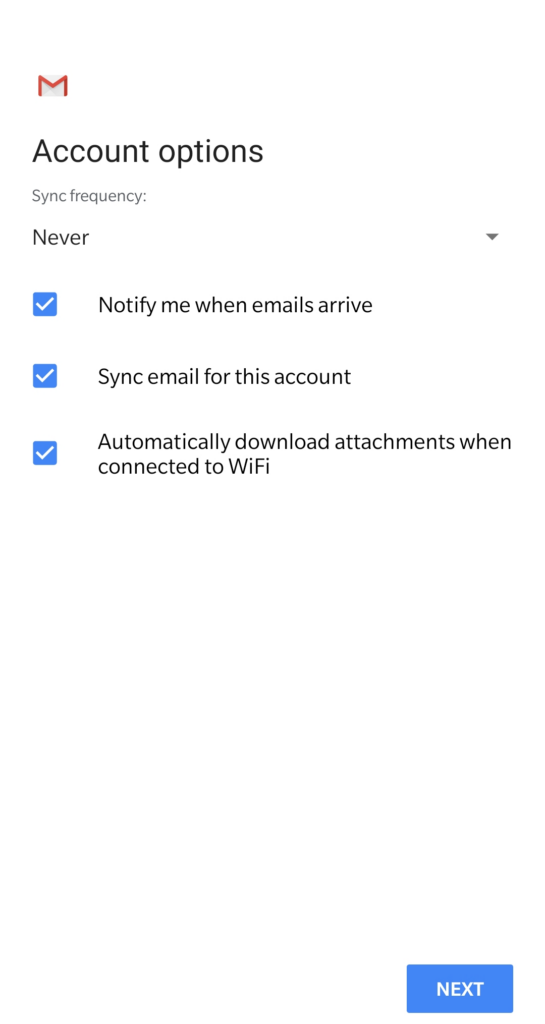
Finally, click NEXT to finish adding your email account to Gmail for Android.
0 out Of 5 Stars
5 Stars | 0% | |
4 Stars | 0% | |
3 Stars | 0% | |
2 Stars | 0% | |
1 Stars | 0% |