How to build a high availability Apache Cluster

As websites grow and visitor numbers increase it becomes a requirement to scale your hosting environment to add flexibility and reliability. Using this guide we are going to look at how to scale Apache to support redundant nodes, load balancing and data syncing.
High Availability Apache Cluster
Apache is used by 35% of all web sites globally and has the largest market share of any web server. But traditionally Apache hasn’t been the best web server when it comes to scaling up and handling large number of connections. That is where an Apache Cluster can be very important where changing web server isn’t possible or practical.
Benefits of an Apache Cluster
There are many benefits to load balancing your website with Apache.
- High availability; in the event 1 web server goes offline, another web server can keep the website online.
- Support more visitors; handle more connections than a single web server instance.
- Increased performance; by distributing the load, each visitor can be served quicker.
- Improved disaster recovery; in the event of a server failure, having another online that you can replicate from can be very useful.
- Simplified setup; compared to other cluster configurations, the setup described below is very easy to deploy and manage.
Software Choice
For this setup we will be using our Cloud Hosting product which is a software stack provided by Virtuozzo Application Platform formerly known as Jelastic. We opted for this platform as it provides us with the tools to make the installation simple but also is easy to scale.
The software we will use is as follows:
- Apache – Web Server
- HAProxy – Load Balancer
- RSYNC – To keep data in sync
How to setup
We first need to access the cloud dashboard and login. If you don’t have access to the cloud dashboard you can signup for a free 14 days trial here.
Once logged in the cloud dashboard should look similar to below:
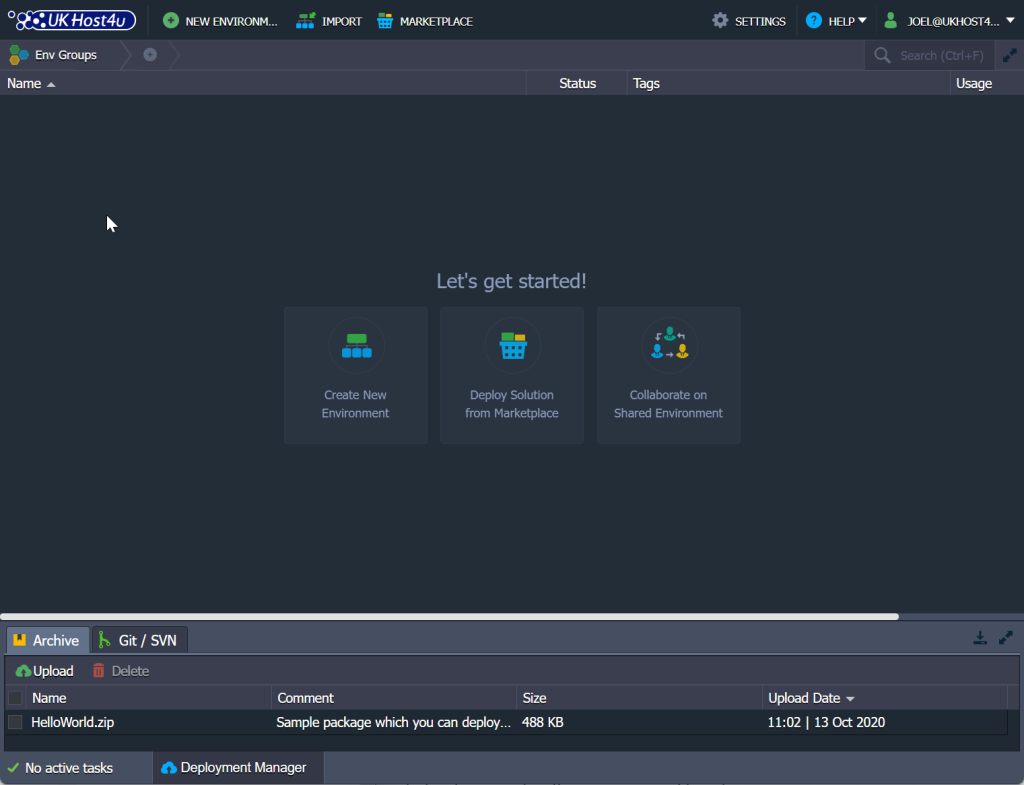
First, use the New Environment button to build our Apache cluster. The platform also has a marketplace and which can be useful if your attempting to host a CMS like WordPress, Joomla, Drupal or Ghost for example. But in this instance, we’re doing it manually.
Creating a new environment
Using this tool we will follow and top down approach. First of all make sure you are on the PHP tab as shown in the screenshot below.
We then want to enable SSL to support https connections of course. Then select the load balancer HAProxy.
Then for the web server, select Apache and then go into the middle section and enable the second Apache server which will allow the system to understand we wish to build a high availability cluster.
Once done click create.
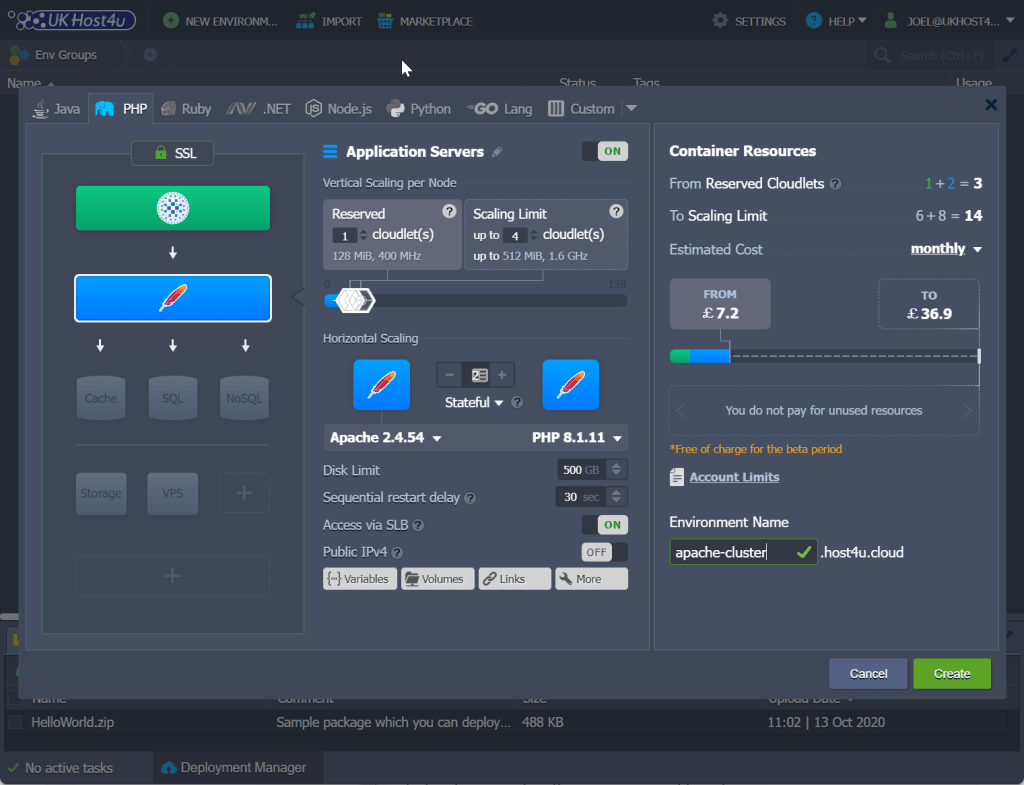
You will notice there are a lot of additional options you can configure and a few are important to understand.
- Vertical Scaling per Node; this is where you can set the minimum reserved CPU and RAM and also set an upper limit that the environment can scale up to.
- Apache and PHP version; these can be customised to meet your software requirements. There are many different version of both Apache and PHP to choose from and new releases are added frequently.
- Public IP; enable this if you wish to make the system public right away. It can be added later if you wish to work in a private development environment initially.
Managing the environment
Management is very simple as our cloud platform pre-configures all the software for you and emails you all the information required. Once created you will see the environment within your dashboard similar to below.
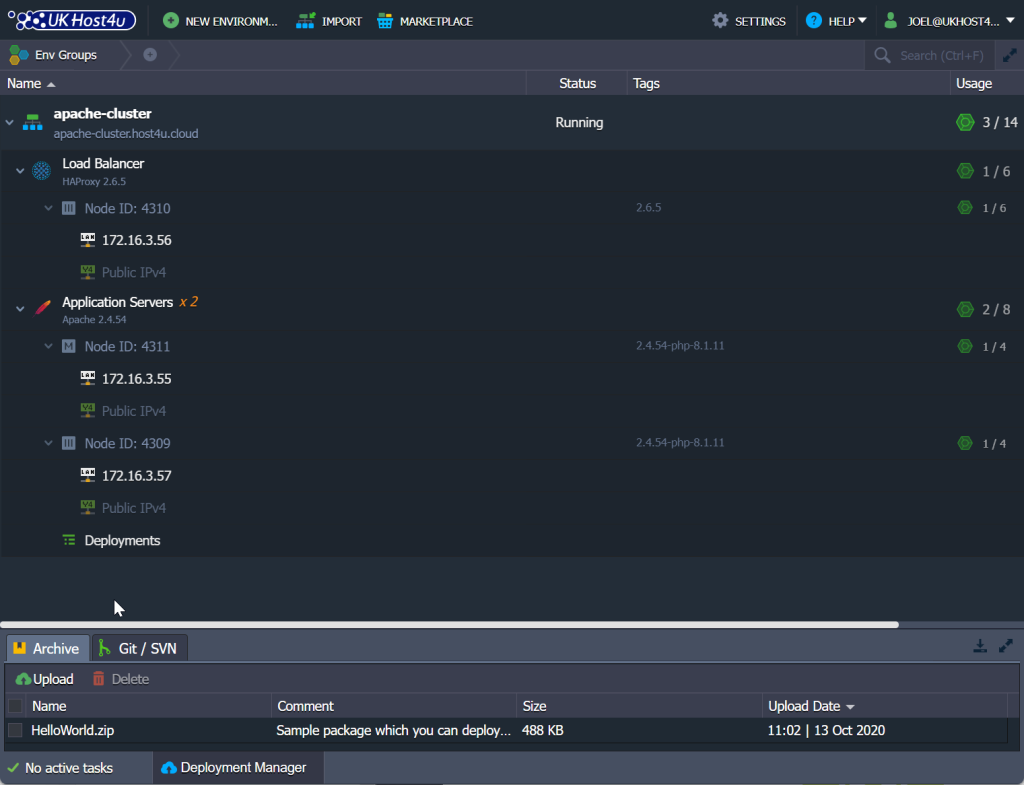
Next we need to configure file synchronisation between the two nodes so that data is mirrored between the 2 web servers. As we only have two nodes in this example, we will use Lsyncd to mirror the content. If we deployed more than 2 web servers, we could use a shared storage volume, mounted on all web servers.
To configure the sync, hover over the Application Servers section and click on the “Add-Ons” icon which will then load a new menu. Look for File Synchronisation and click Install.
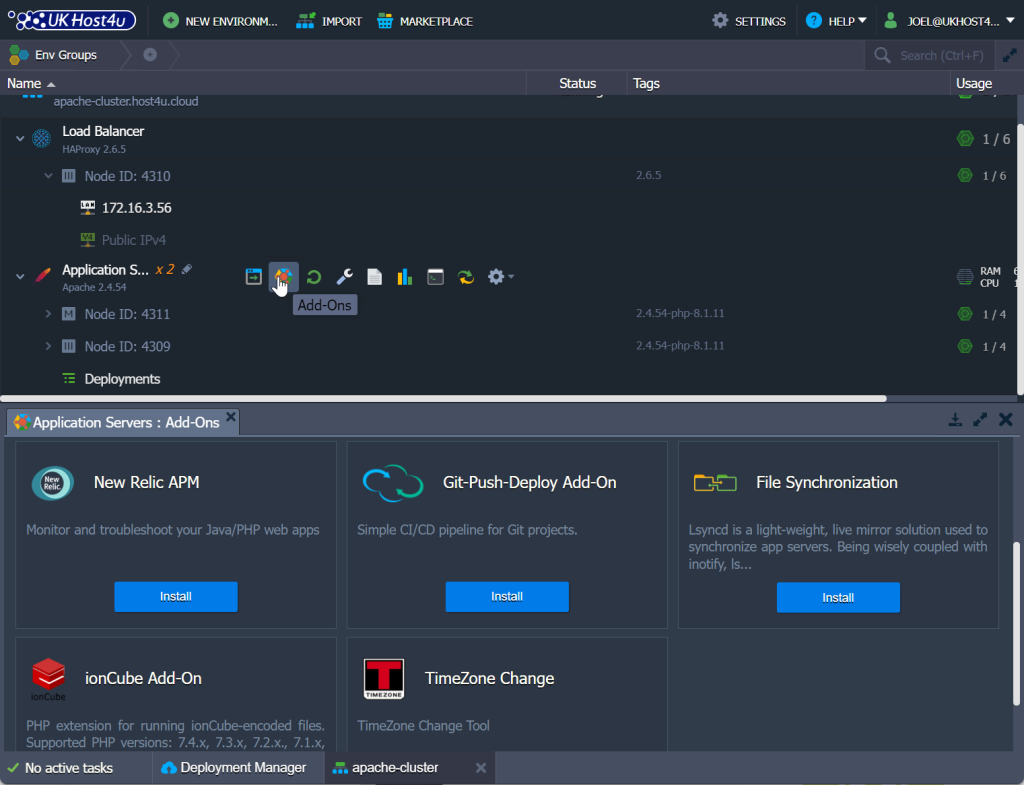
The default settings are fine so there’s no need to do additional configuration.
Publishing your content
At this stage you should have a working Apache Cluster and are therefore ready to publish your web content. The platform supports multiple different methods to publish, including the ability to deploy an archive, upload from URL or use GIT/SVN.
If you prefer FTP, there is an Add-On which can be installed but we recommend using SFTP (FTP over SSH) instead.
The default web root folder is:
/var/www/webroot/ROOTSince we installed lysncd, we only need to upload onto one web server and it will be replicated to the other web server.
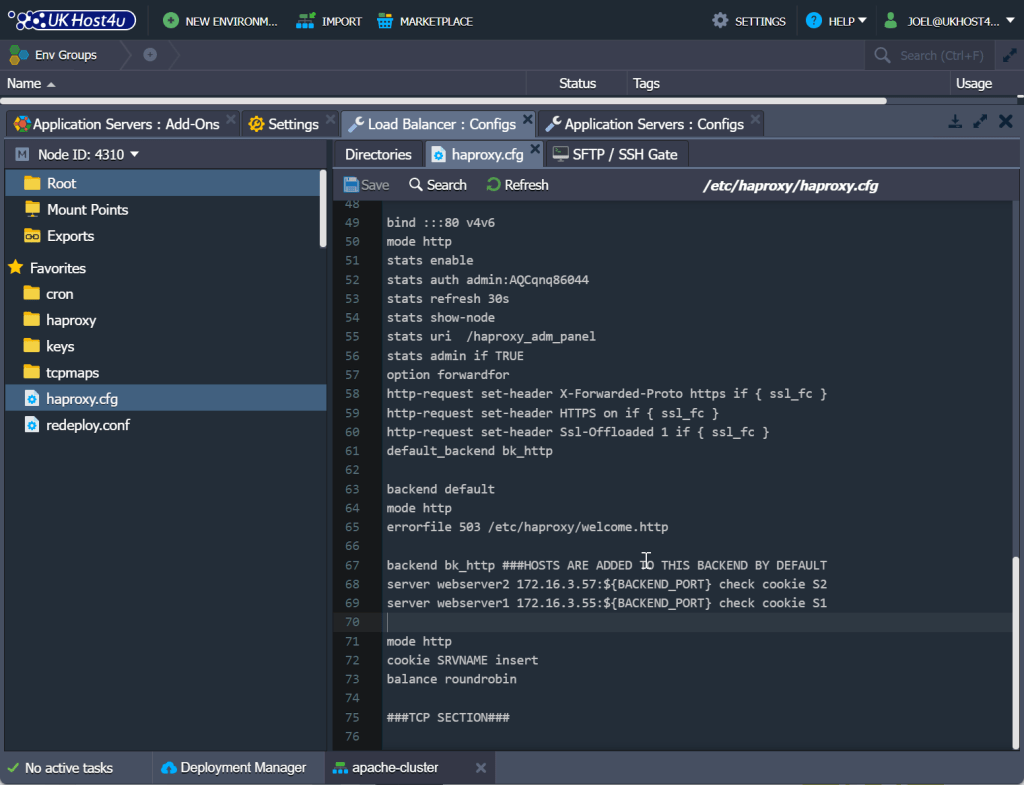
Load Balancer configuration
If you remember we installed HAProxy to be our load balancer during the building of the environment. This means it is already configured. This is very useful as it can be the most complicated aspect of a load balanced environment to set up.
That said, there is one setting that you might wish to change depending on your needs. The “balance” setting determines how incoming traffic should be distributed between the web servers. By default it is set to “roundrobin”, which sends requests to each web server in turn. You might want to change this to “source” which sends requests to a specific server based on the source IP address requests originate from. This method ensures that the same users will connect to the same servers each time.
If you wish to understand these options in more details you can check them out here.
About Paul Hughes
With over 20 years experience in the web hosting industry I have a passion for technology and security solutions.