Search Knowledge Base by Keyword
Adding Captcha Protection On Your WordPress Site
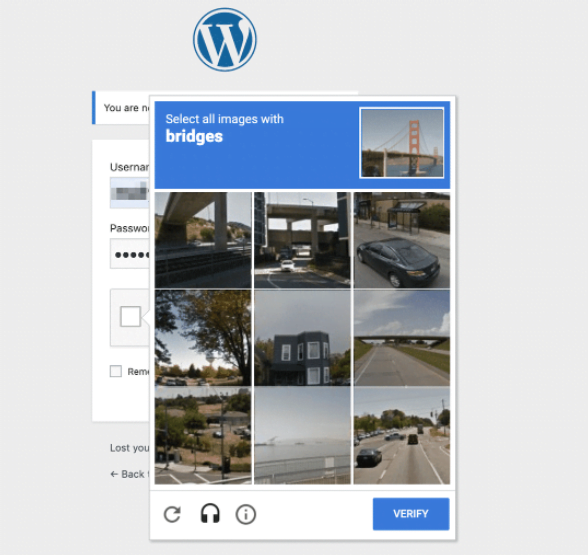
Captcha is usually used to protect your website from brute force attacks and bots that may abuse your website. This will also prevent spamming on your contact forms.
The most used captcha for WordPress is the Google Captcha (reCaptcha) which we will be using as an example.
To add Captcha Protection on your WordPress site using Google Captcha (reCaptcha) Plugin, you may follow the steps below:
- The user must be logged in using the administrator account on the WordPress site
- Go to the Dashboard, click on Plugins and then click the Add New option on top of the page.
- On the right-hand side of the page, you will see the Search box. Just type in “Google Captcha”, then the page will auto-populate the results. If not, just hit enter or click on search (if there is a button).
- Find the Google Captcha (reCaptcha) on the results and click on the Install button.
- Once installed, go back to Plugins and click on Installed Plugins.
- Navigate to your newly installed Google Captcha (reCaptcha) and click on Activate then click Settings.
- The plugin will require Public and Private Keys to use.
- To generate these keys, just click on the registration link from Authentication and then follow the instructions (it may also require your Google account).
- Once you have your keys from Google, you may type or copy the public key into the Public Key text box and the private key into the Private Key text box.
- On the Options, you may select your preferred settings and then click on Save Changes when you are done.
- Captcha protection is now activated! To test it, you may try logging off and seeing the login page. You may also see it on the commenting feature, where the form will show a captcha.