Search Knowledge Base by Keyword
How To Customise Menus In WordPress
Menus in WordPress allow your website visitors to navigate to different areas of your website with a single click. You’ll typically see this along the top of a website, with links such as “Home” or “Contact Us”.
Below are the steps to customize menus in WordPress-
- Login to the WordPress administration dashboard.
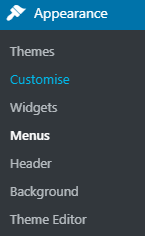
- Navigate to Appearance > Menus.
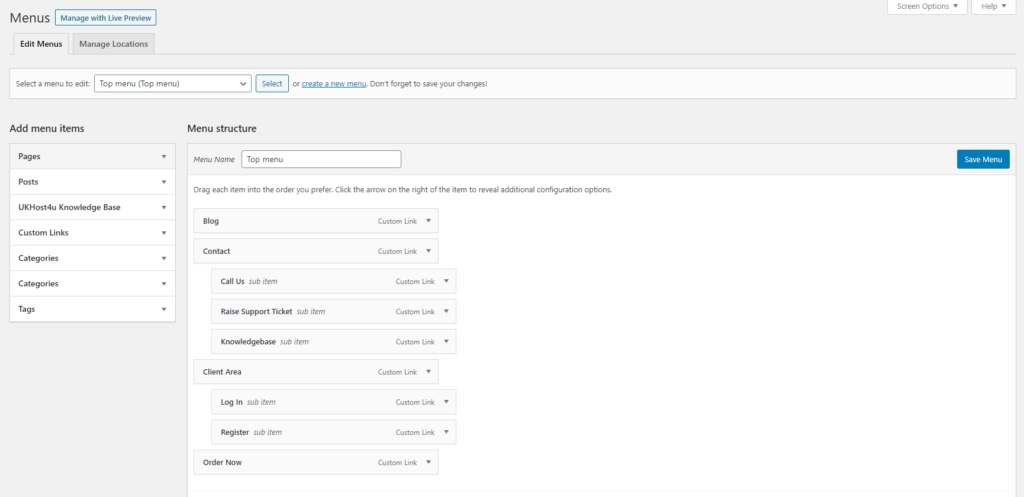
3. User will now see a list of menu items that the user can add, as well as the current menu structure for your website.
Creating a new menu
- To create a new menu, click the Create a New Menu link at the top.

2. User will then be prompted to name the menu. Just enter the name and click Create Menu.

Your new menu will now be created.
Adding items to a menu
To add a new item to the menu, just select the item(s) from the Add menu items section, then click Add to Menu.
In the example below, we’re adding the About page to our menu.
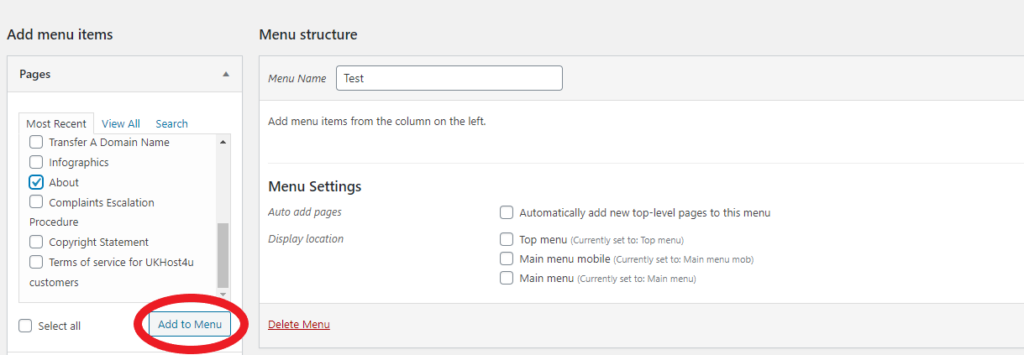
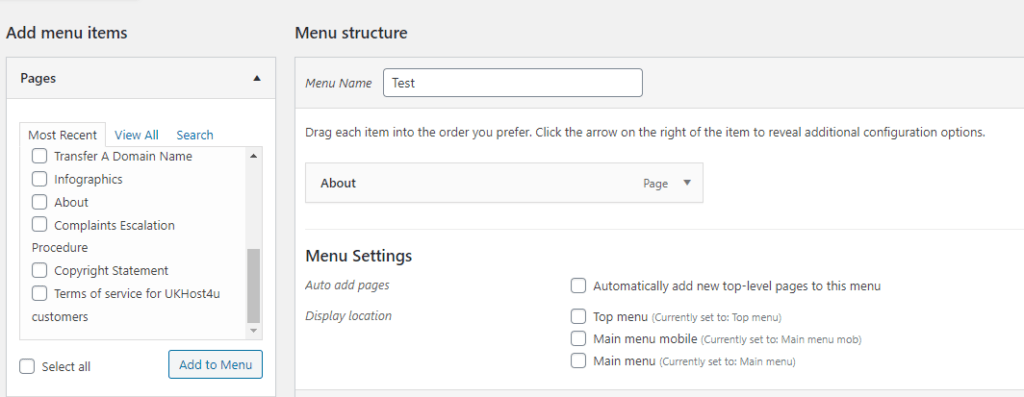
Finally, click Save Menu to finish saving the changes.
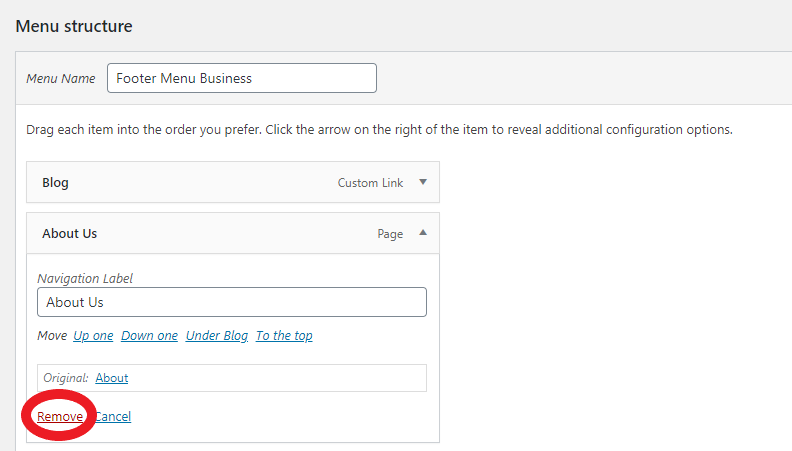
Removing items from a menu
To remove an item from a menu, just find the relevant item from the Menu structure section, click the arrow to expand it, and then click Remove to remove the item.