Search Knowledge Base by Keyword
How To Install A Plugin In WordPress
Plugins are extremely common in WordPress as they bring lots of extra functionality and bonus features that you wouldn’t find on the base WordPress installation.
Plugins can be installed quickly and easily through the WordPress administration dashboard.
Below are the steps to install a plugin in WordPress-
1. Log in to the WordPress website with the correct credentials
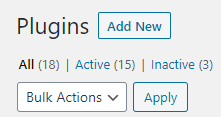
2. Hover over to the Plugins section of the sidebar.

3. The user will now be taken to the plugins directory where the user can manage all of the plugins the user has installed on the WordPress website.
4. To add a new plugin, first, click Add New at the top.
5. Now the user will be taken to the WordPress plugins directory, where the user can find most plugins and install them in just a few clicks.
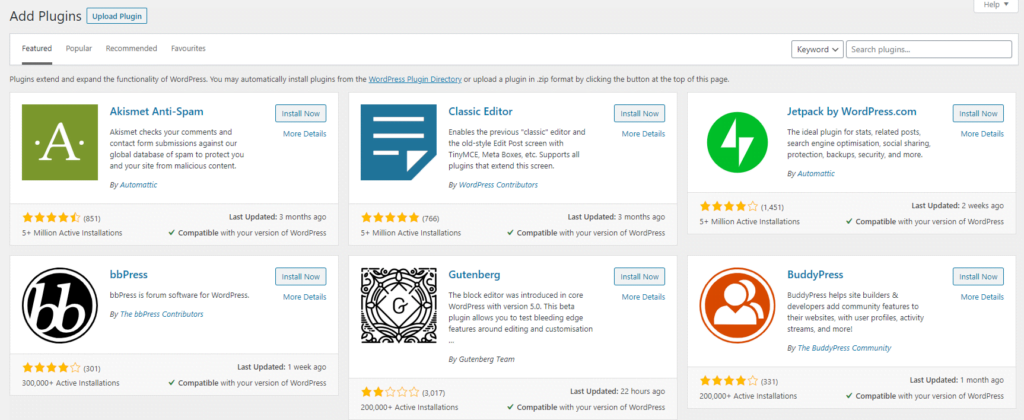
If the user already knows the plugin the user wants to install, the user can type it in the search bar to find it. Otherwise, the user can look through the Popular and Recommended tabs, to find the most popular plugins.
To install a plugin, just click the Install Now button beside the plugin.
Finally, after the user has installed the plugin they need to activate it. To navigate back to the Installed Plugins directory, click Activate beside the plugin name.

The user can now begin using the new WordPress plugin!
